Airbyte Local Deployment
Docker installation
- Install Docker on your workstation. Make sure you're on the latest version of docker-compose. Download Docker using the following URL: https://www.docker.com/products/docker-desktop
- Download and install it, As the docker gets installed, click on the start button.
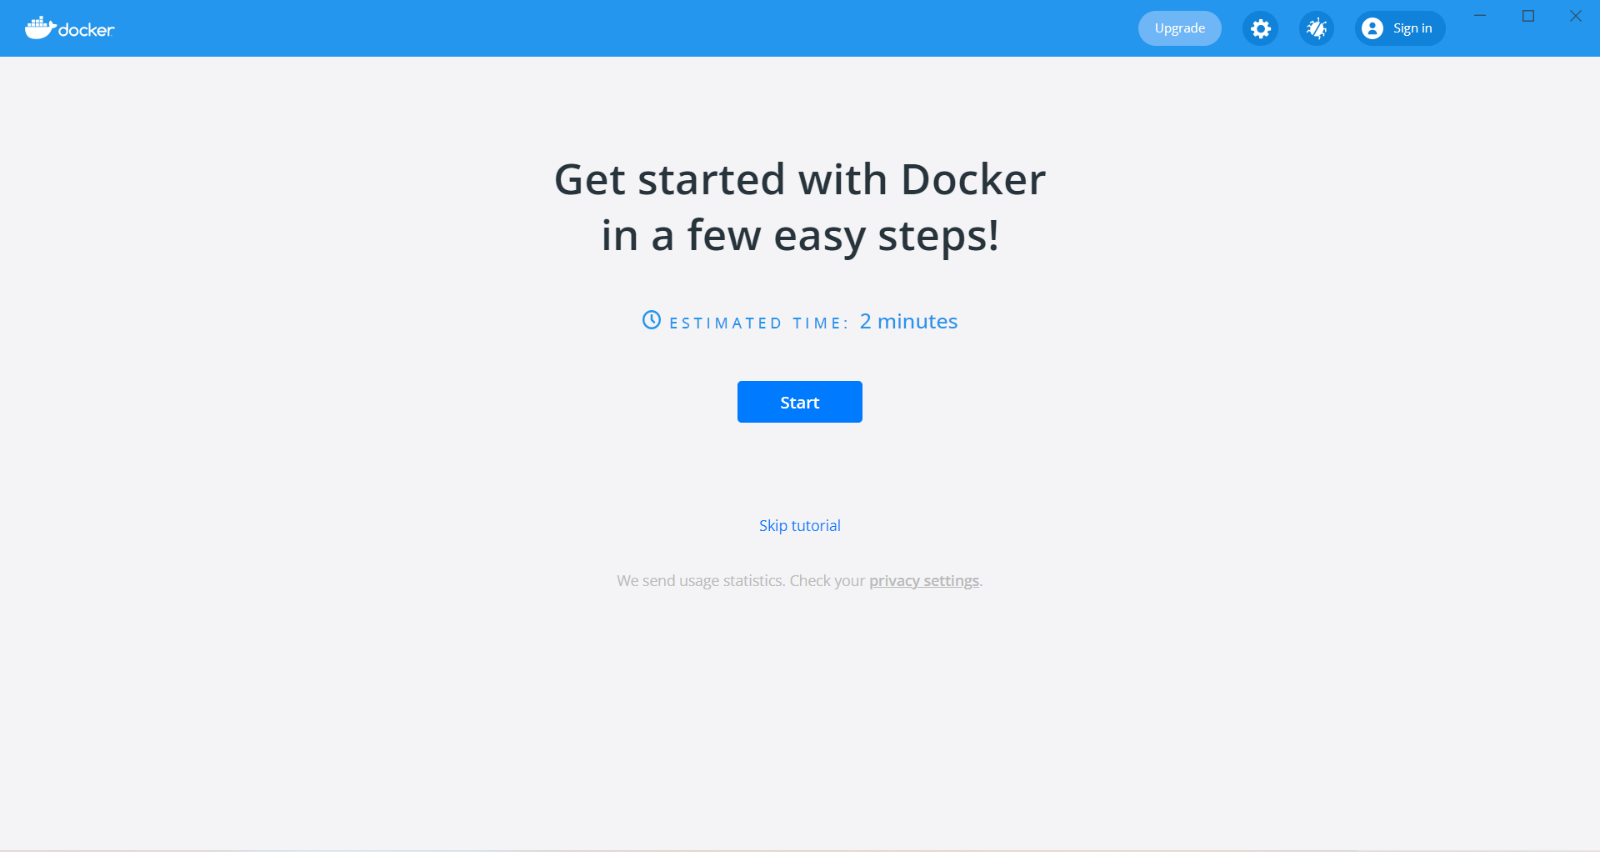
- After clicking on the start button, now we no need to add any kind of data here. just click on the Next step to go further.
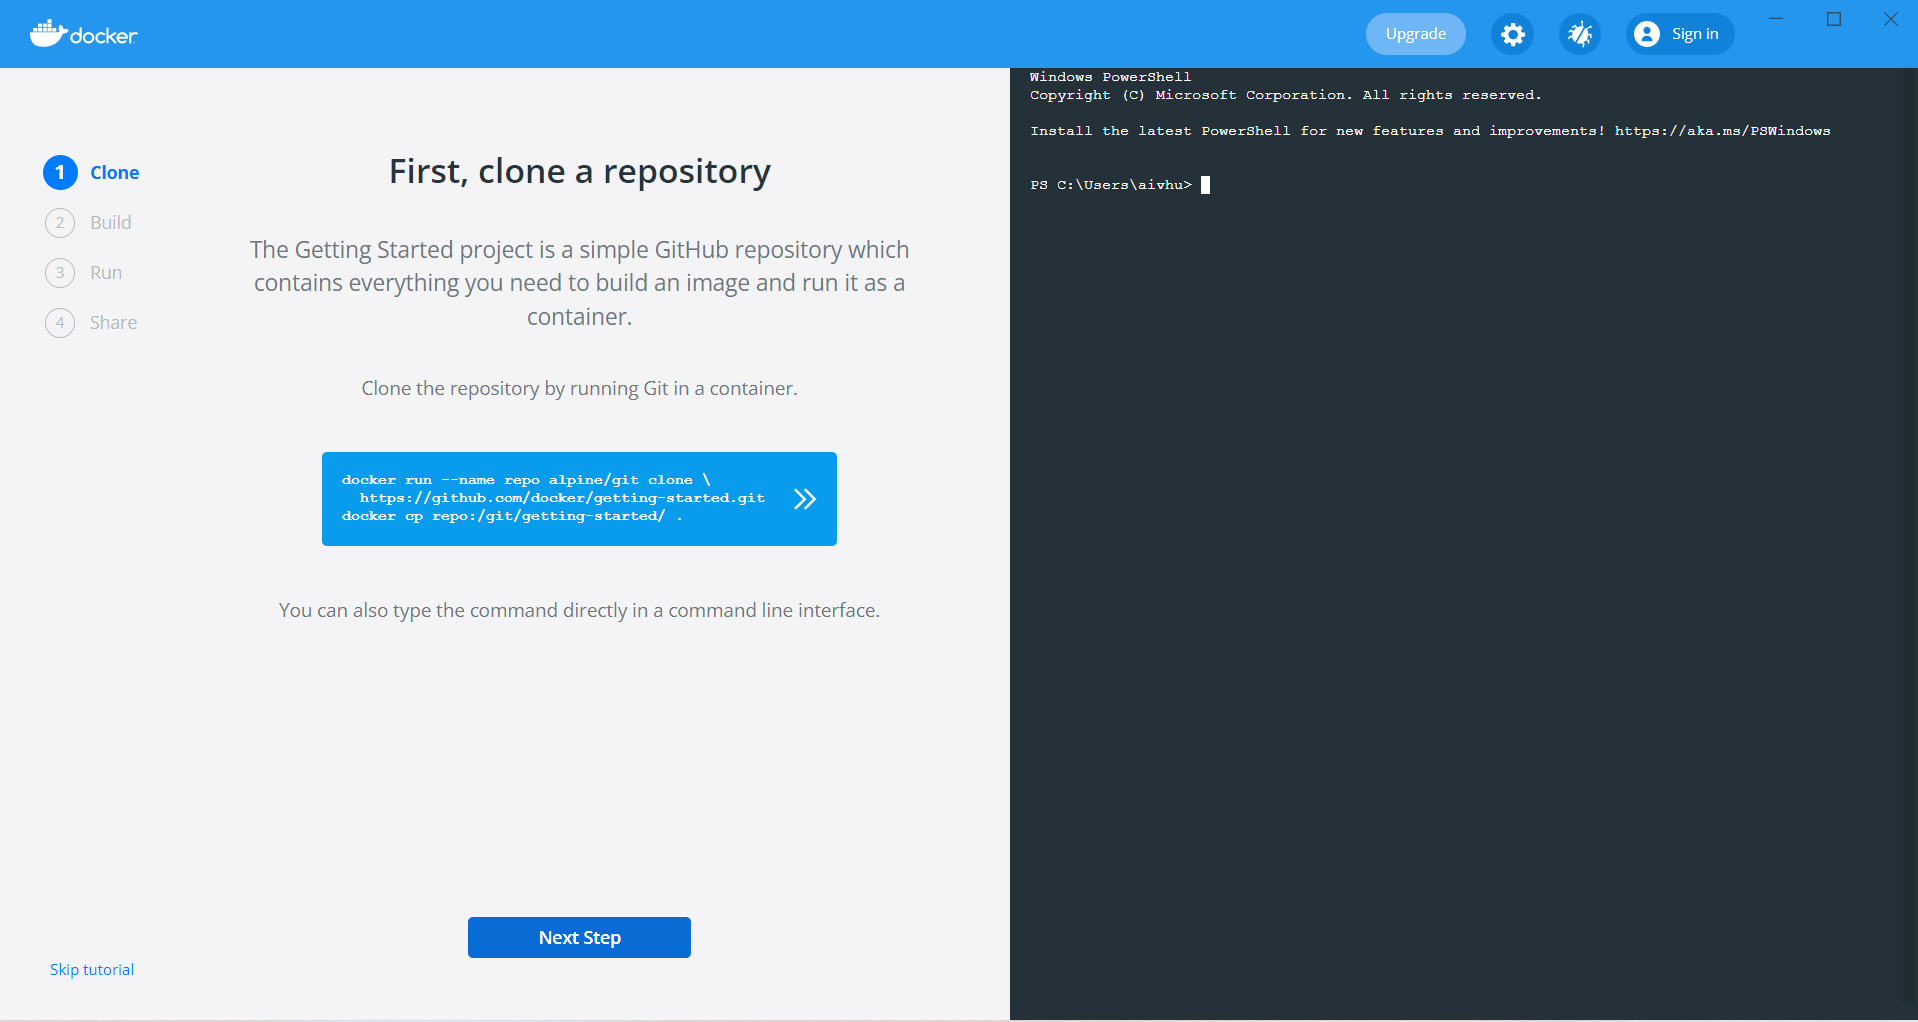
- Click on the Next step to go further.
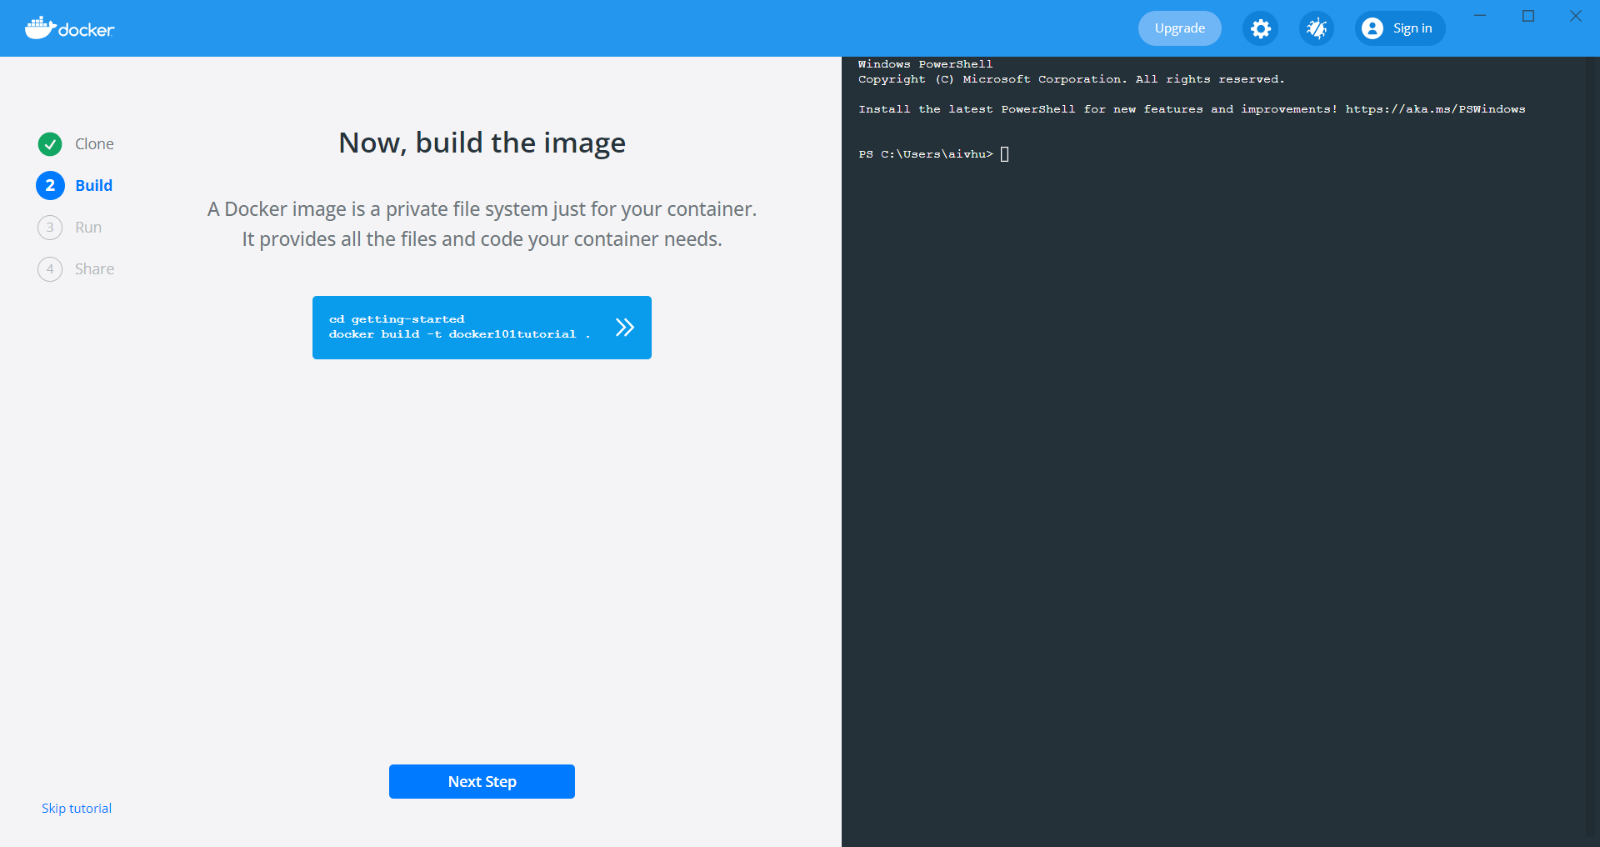
- Click on the Next step to go further.
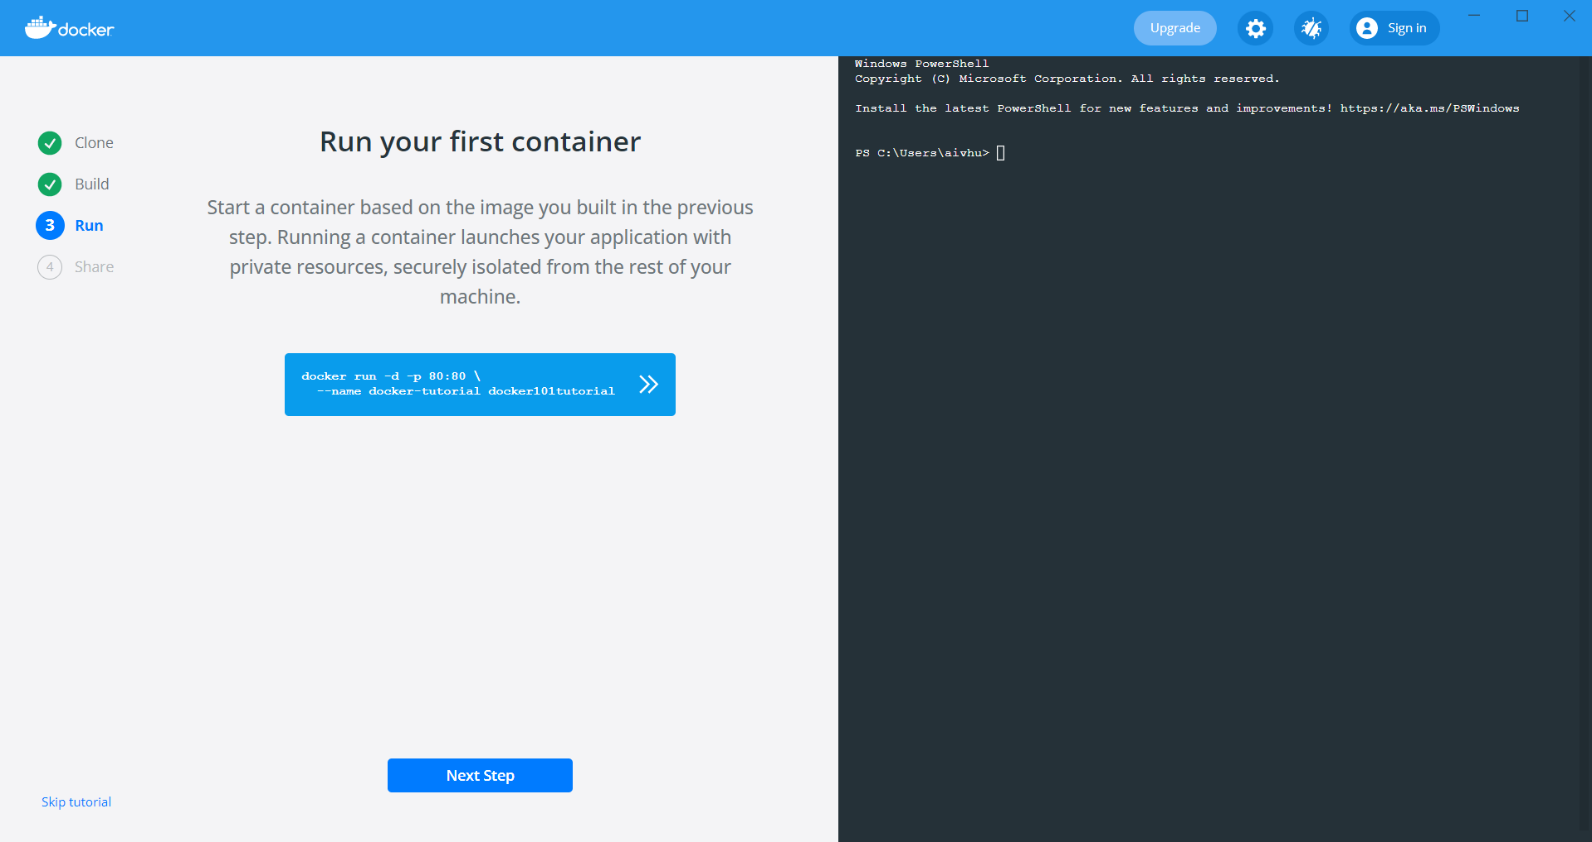
- Click on the Done button to complete the tutorials.
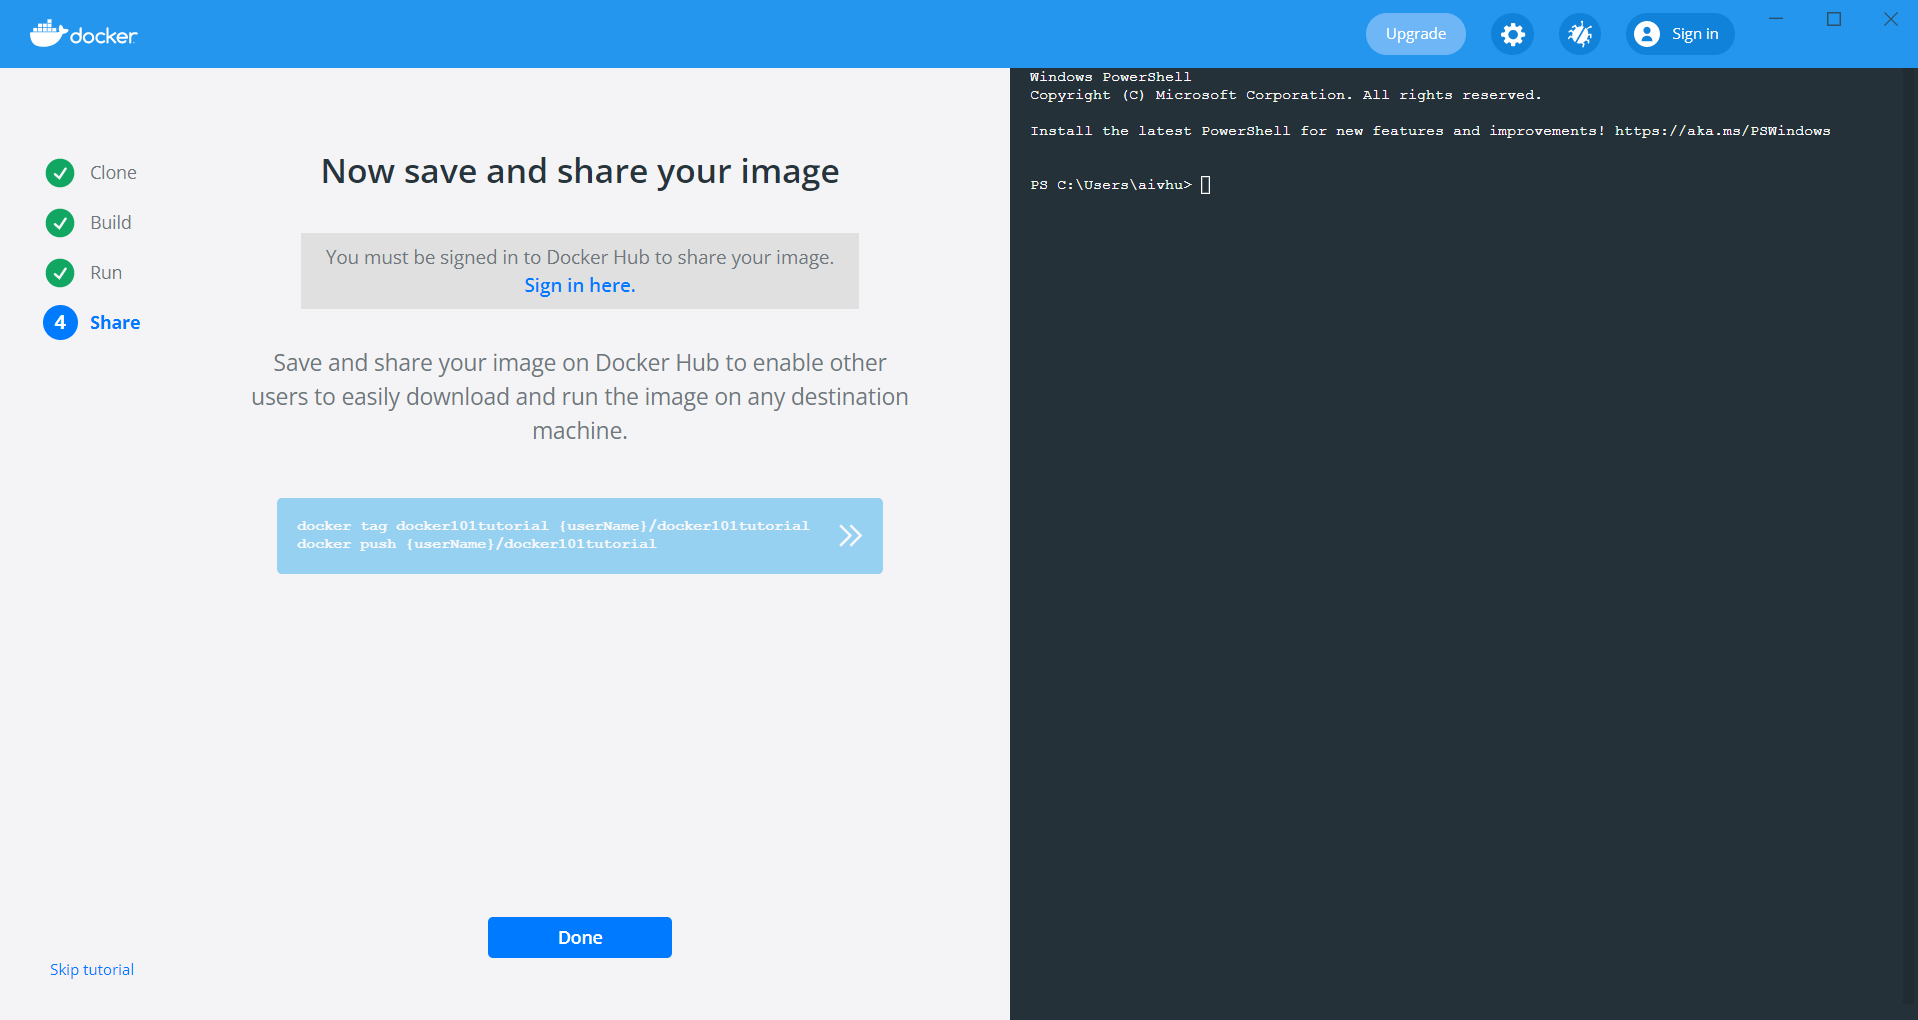
- After Docker is installed, you can immediately get started locally by running:
note
In case you get the WSL installation incomplete alert then got to the link placed in the alert dialog box.
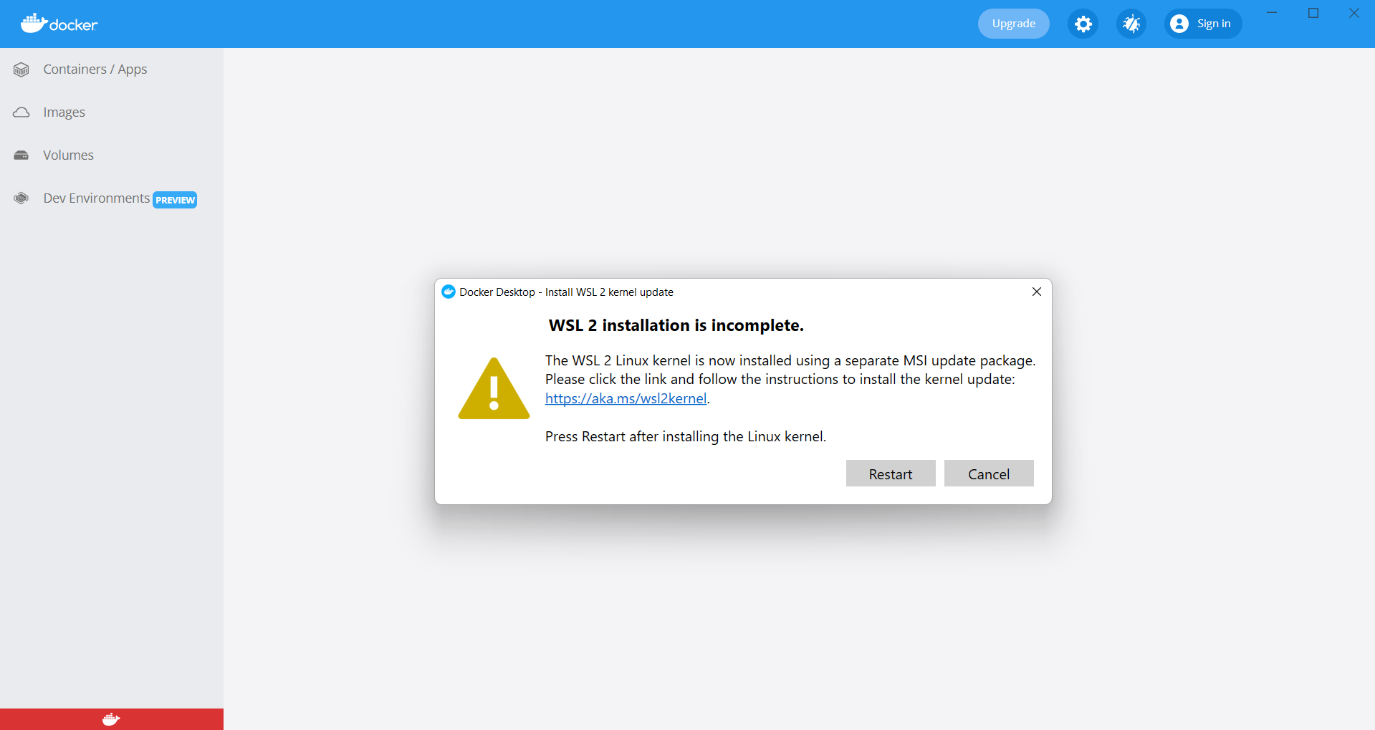
WSL 2 Linux Karnal update package
- After getting on the install WSL page, Click on the download link of the WSL 2 Linux Karnal update package.
- You can use this URL to download: https://docs.microsoft.com/en-us/windows/wsl/install-manual#step-4---download-the-linux-kernel-update-package
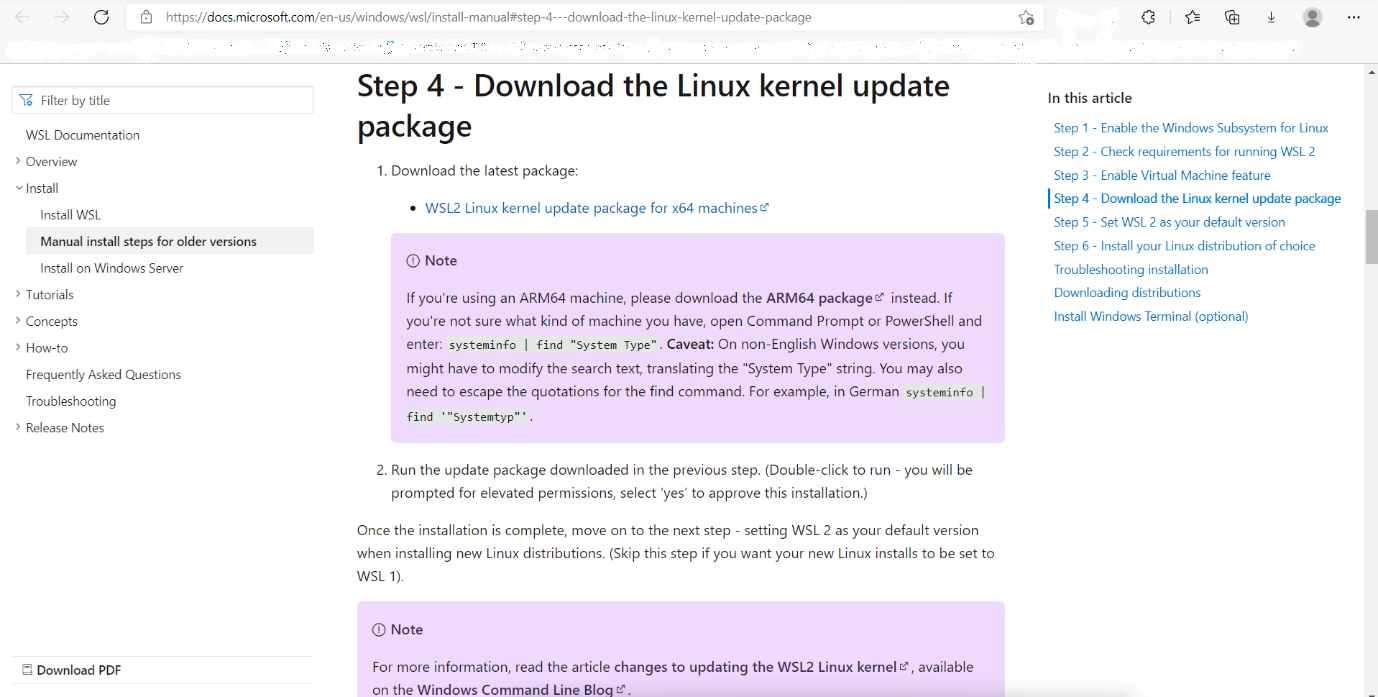
- After download, just simply double-click on the package and install it on your machine.
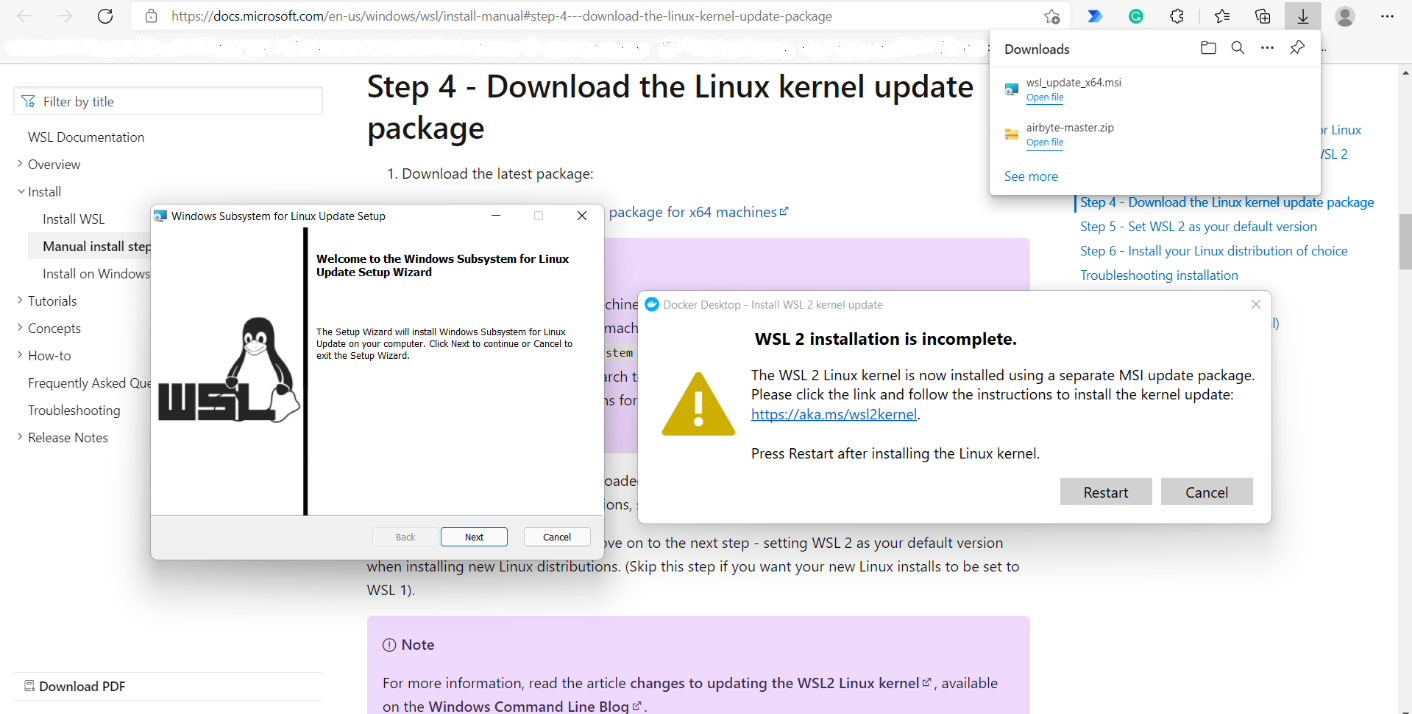
- While installing the Windows subsystem for Linux update setup, you need to click the next button multiple times, here while installing you do not need to add any kind of data.
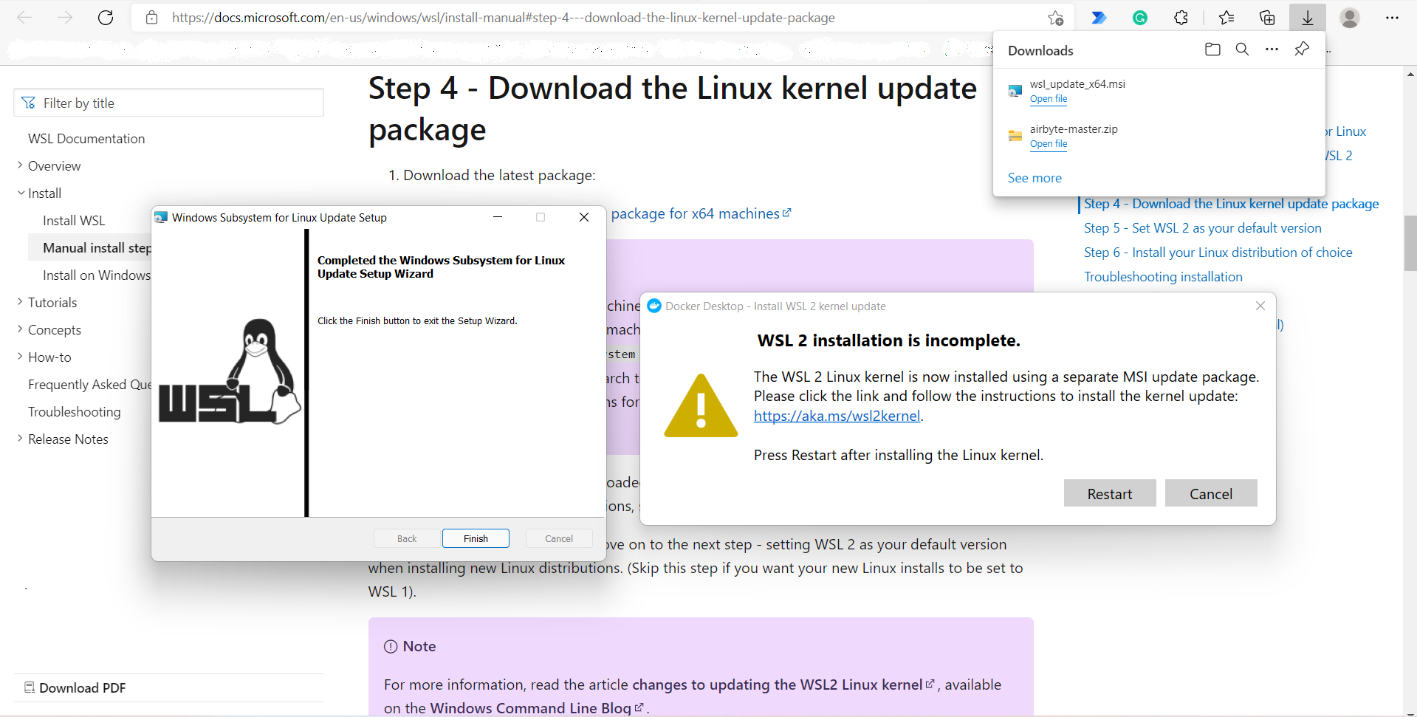
- After the WSL package installation gets done, click on restart Docker in your machine.
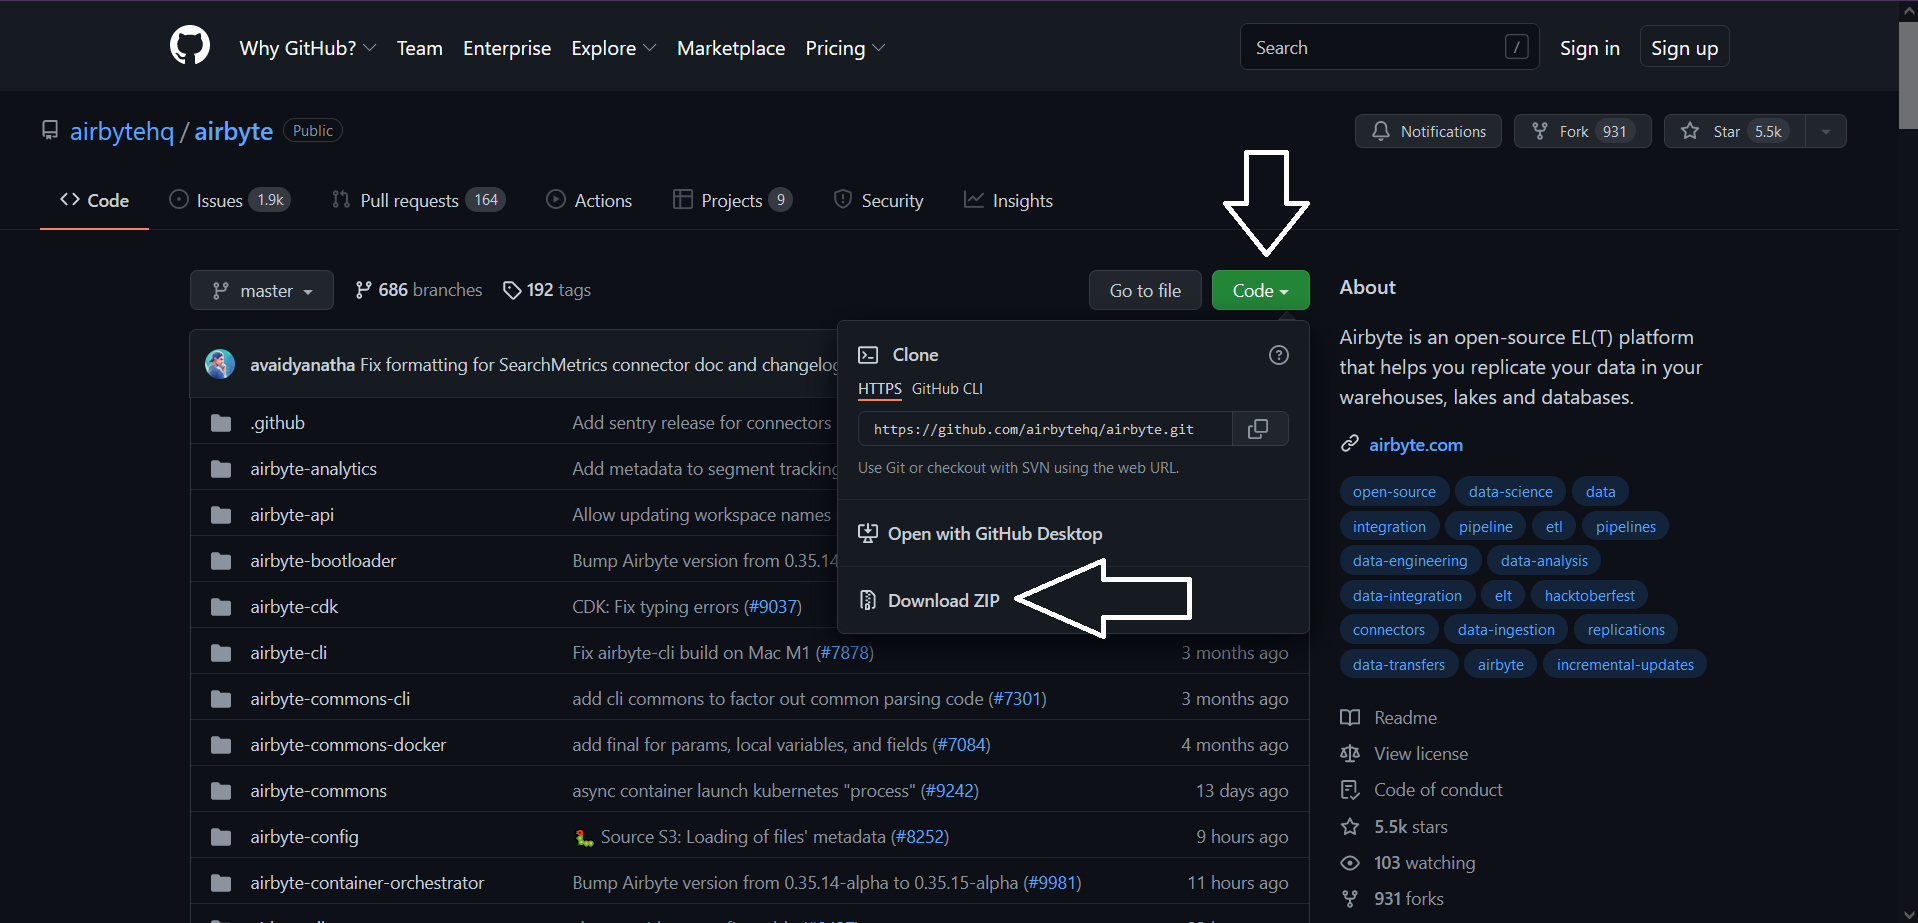
- Now, Download the Airbyte from https://github.com/airbytehq/airbyte, After getting downloaded, open the airbyte master folder in CMD.
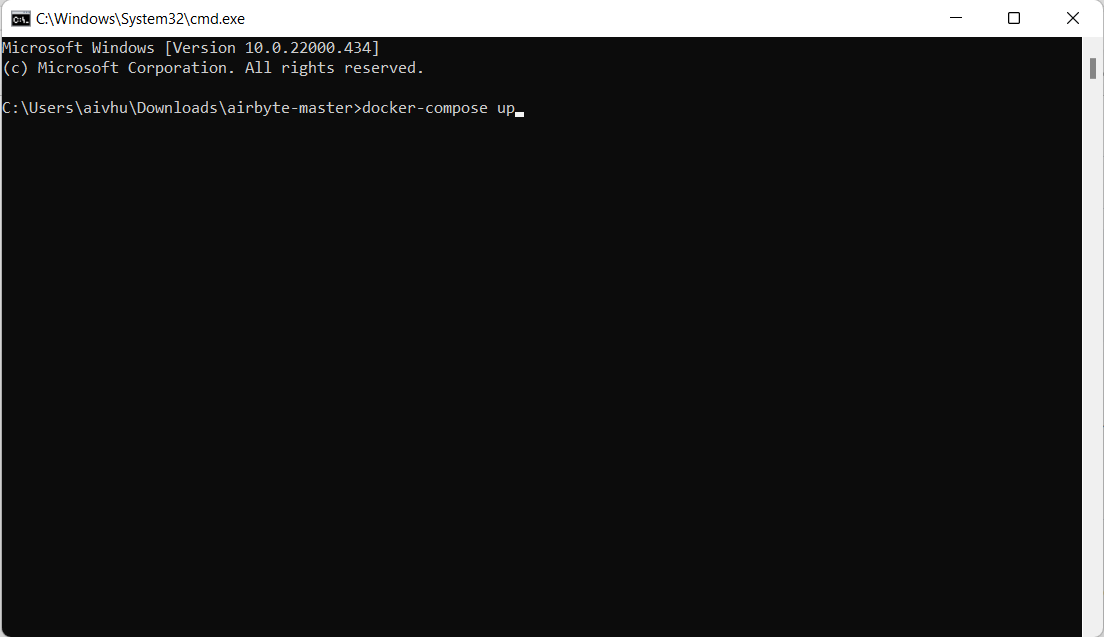
- open it in CMD and pull it on docker using the command: docker-compose up as shown in the figure below:
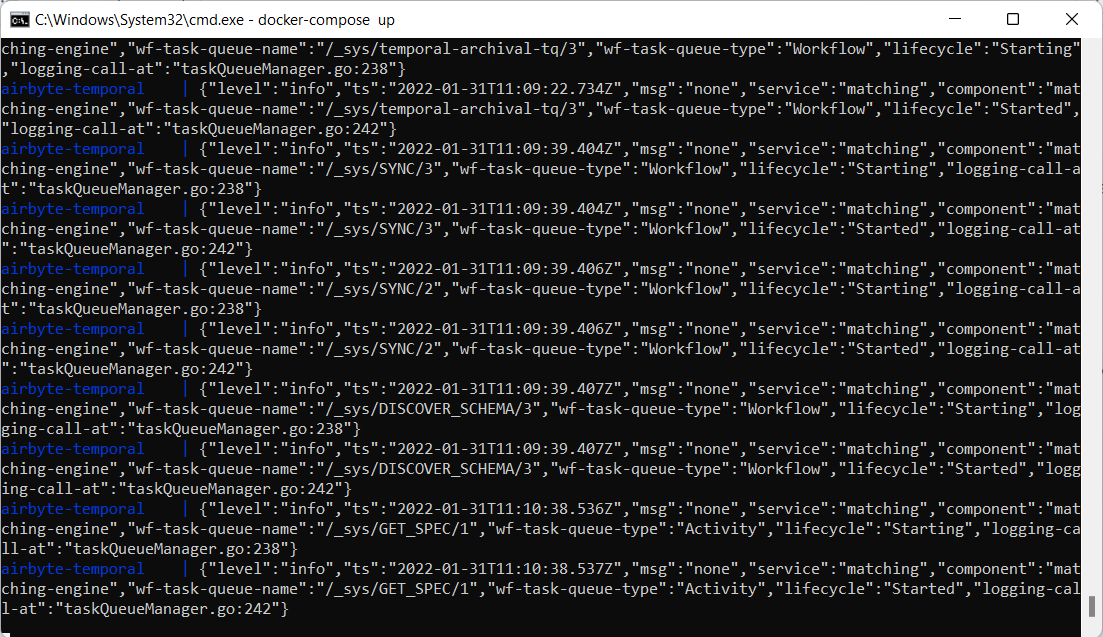
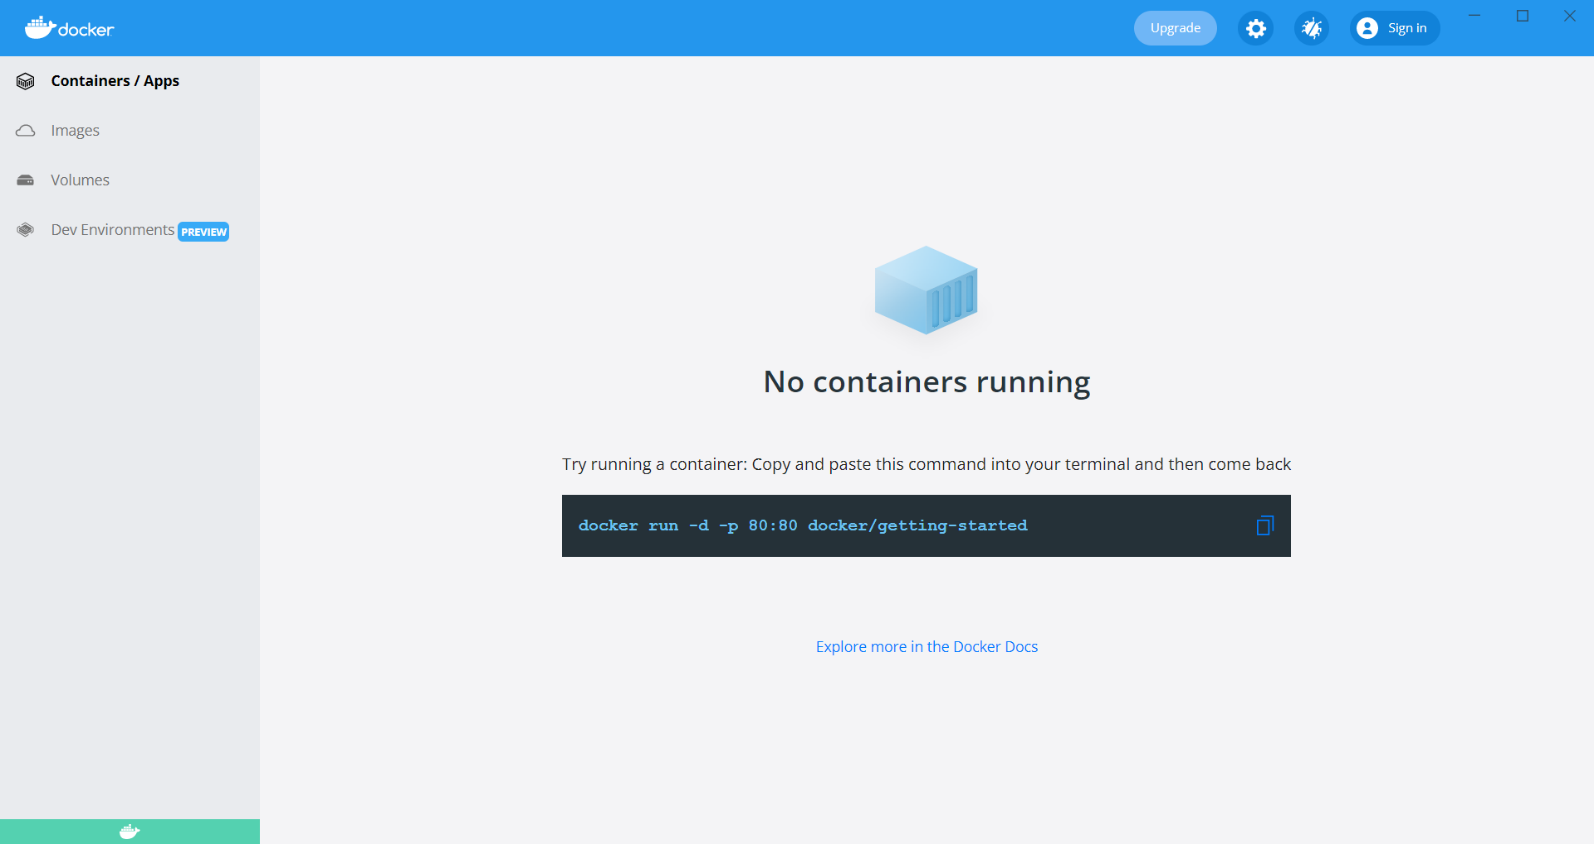
- Once the Dockerizing of airbyte gets done, then click on the Docker containers/Apps page. as shown in the figure below:
Add Source in Airbyte
- Now, from any browser, just visit http://localhost:8000 The Airbyte should reflect from the browser like the figures below:
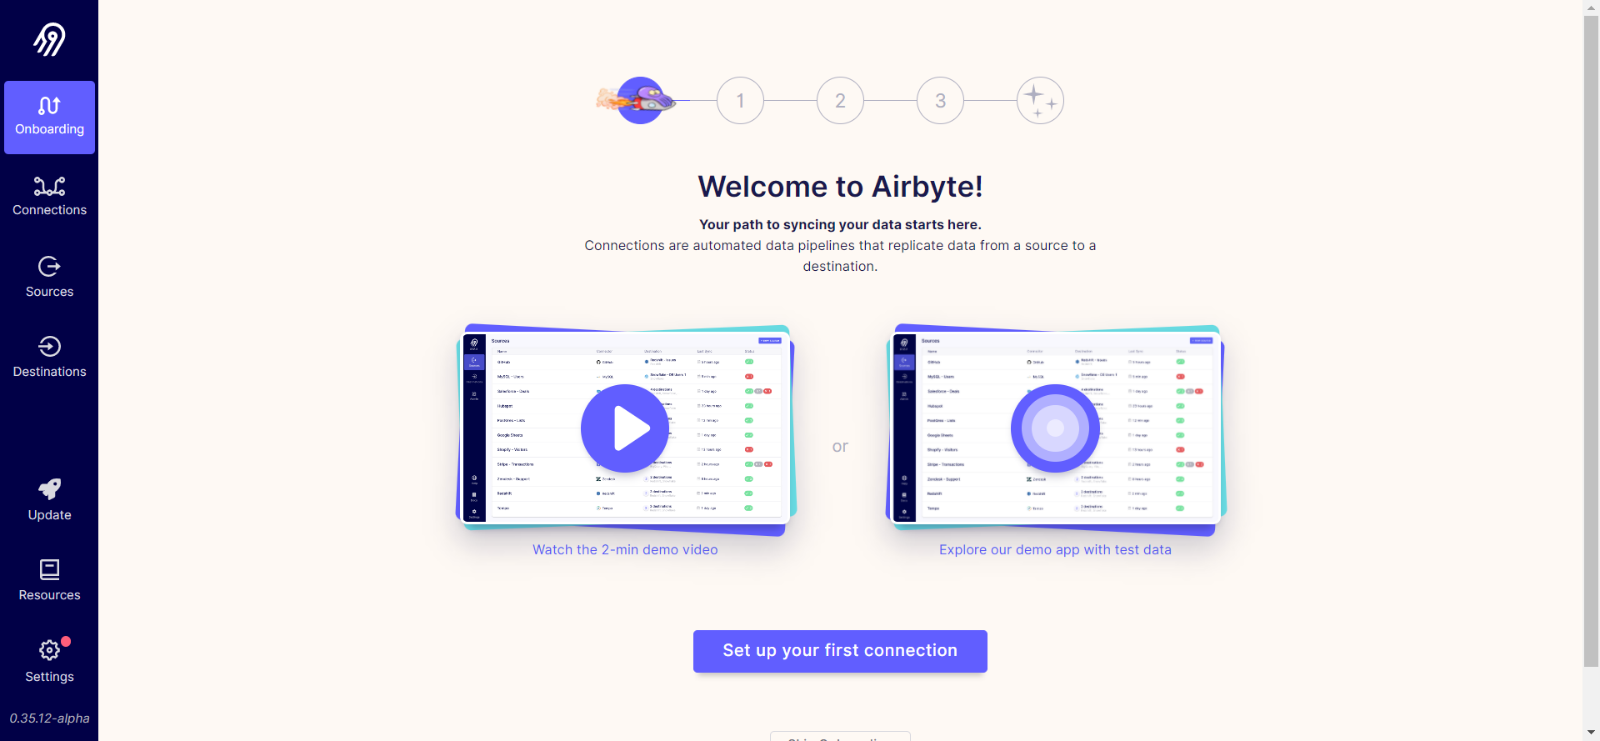
- To start make a connection of any source to the Airbyte installed in your machine. to move further click on set up your first connection as shown in the above screen.
- Fill the details as the form needs, to add source add name and select source type from as shown in the figure below:
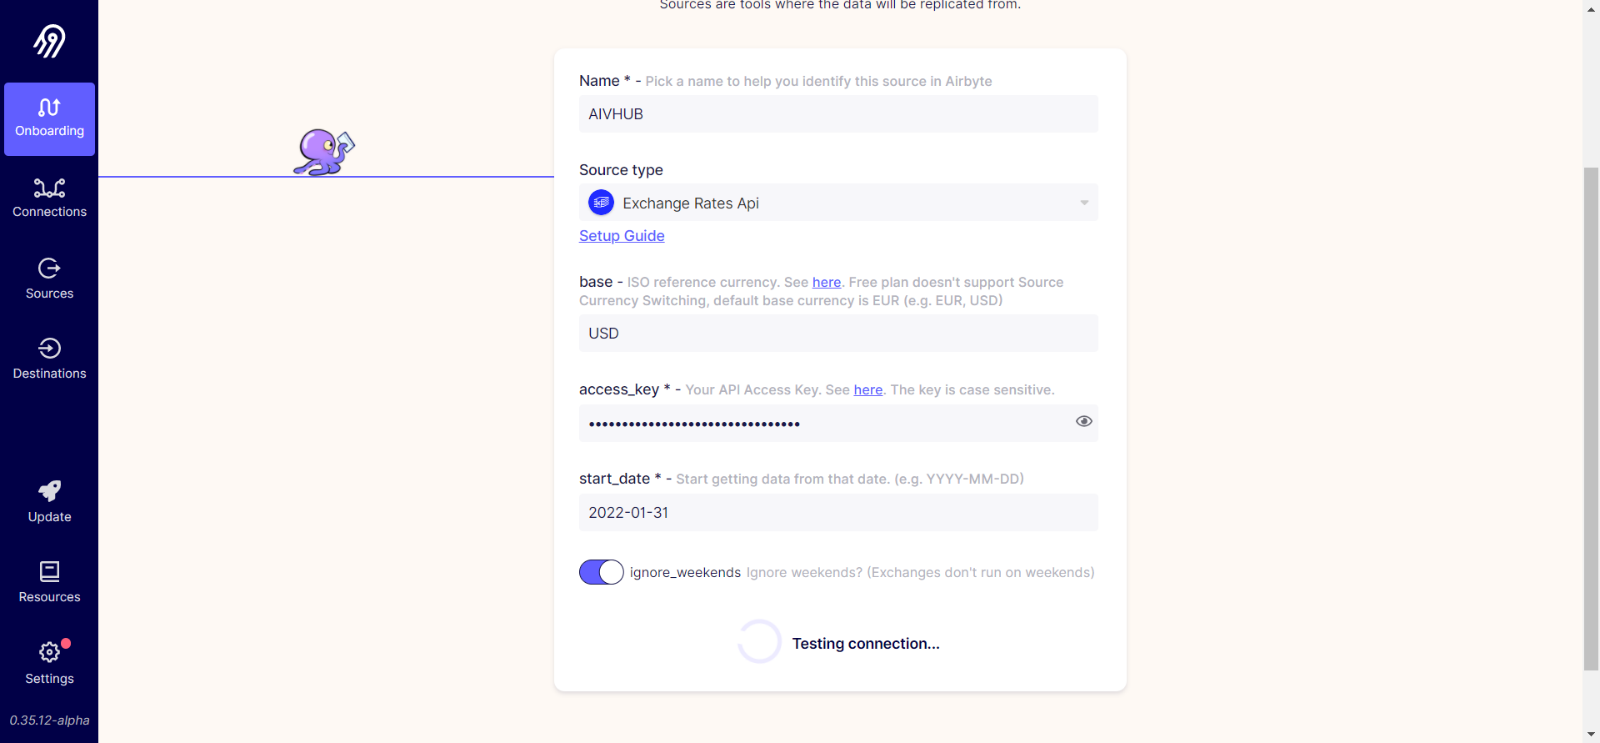
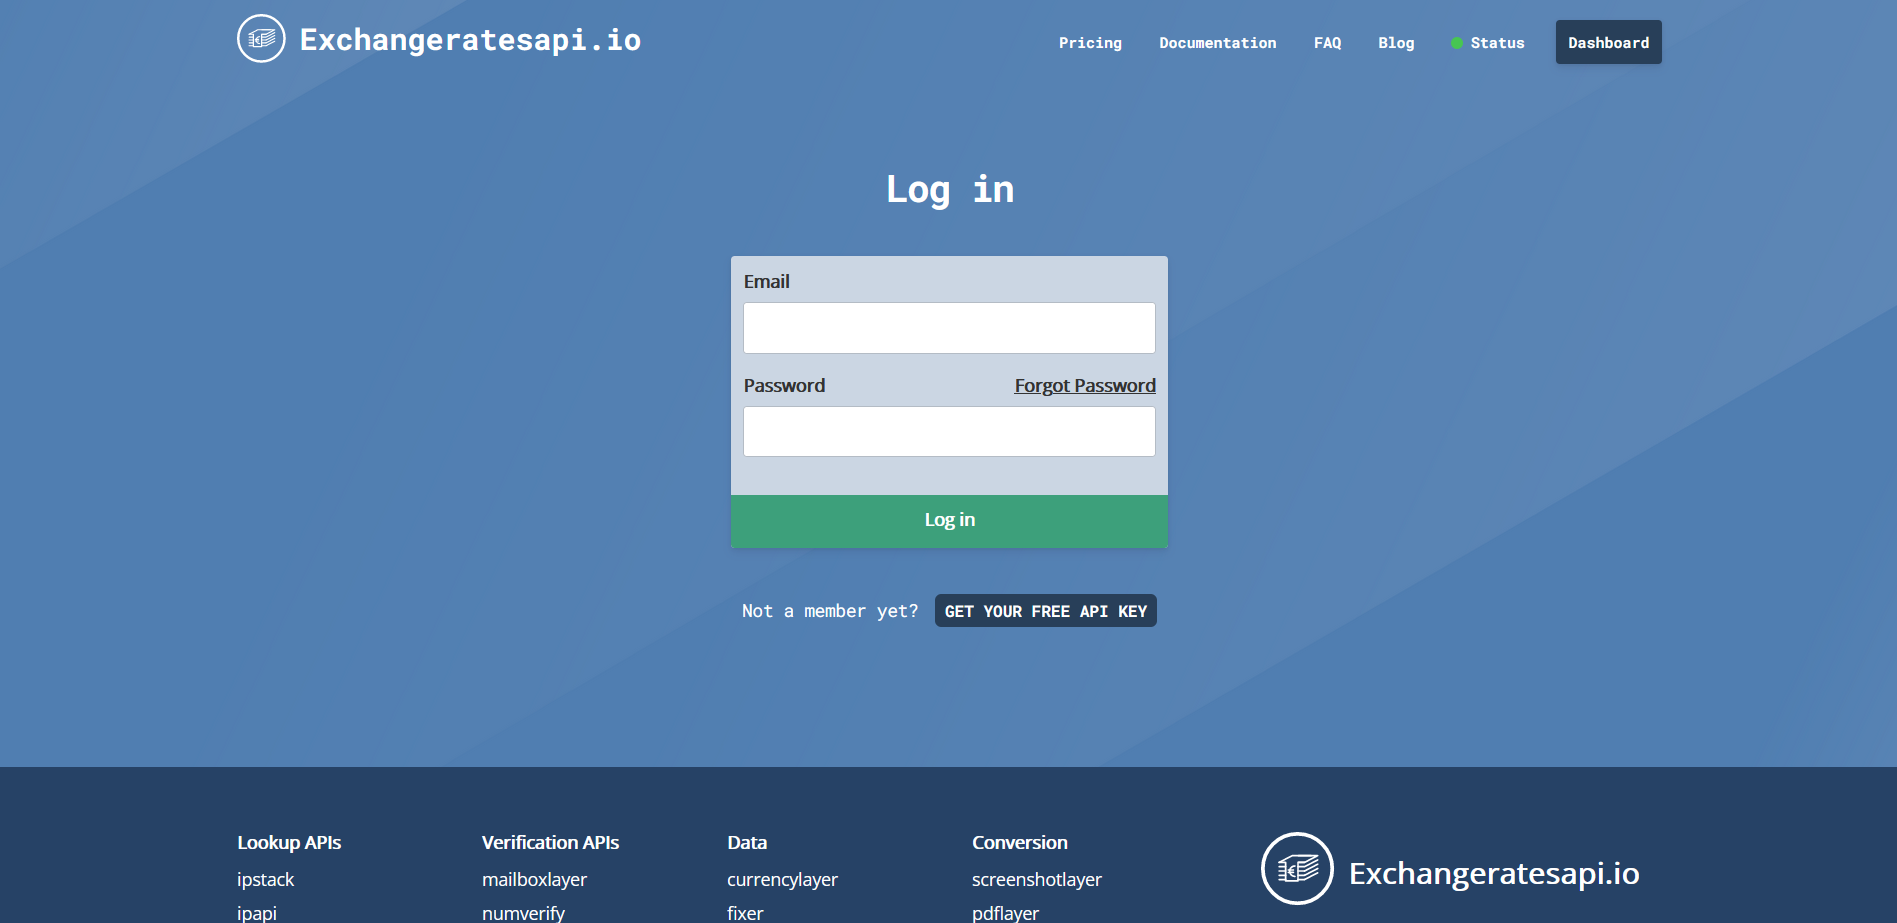
- Here, we have selected the Source type as Exchange Rates API, as the user selects any of the source types, it show the connection properties needed in a form. to connect the Exchange Rates API, we need the access key and to get the access key, you need to login into the vendor’s website at https://manage.exchangeratesapi.io/login?u=https%3A%2F%2Fmanage.exchangeratesapi.io%2Fdashboard
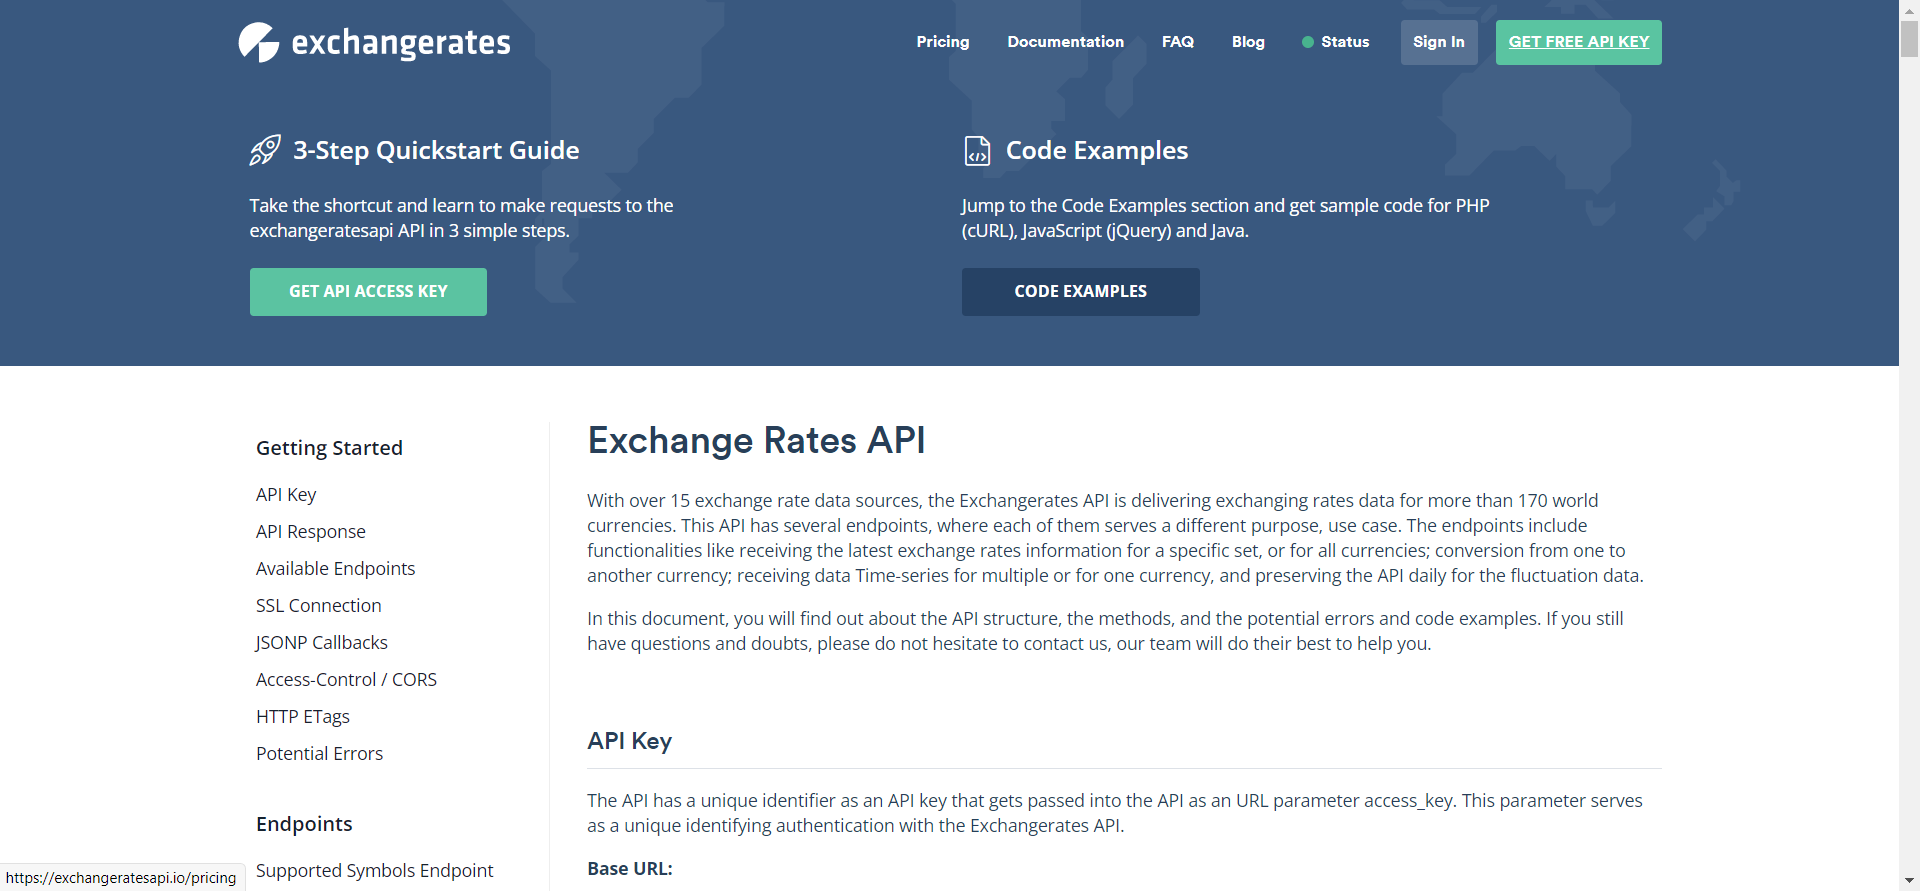
- As you login to the https://manage.exchangeratesapi.io/ the API shows up on the screen, as shown in the figures below:
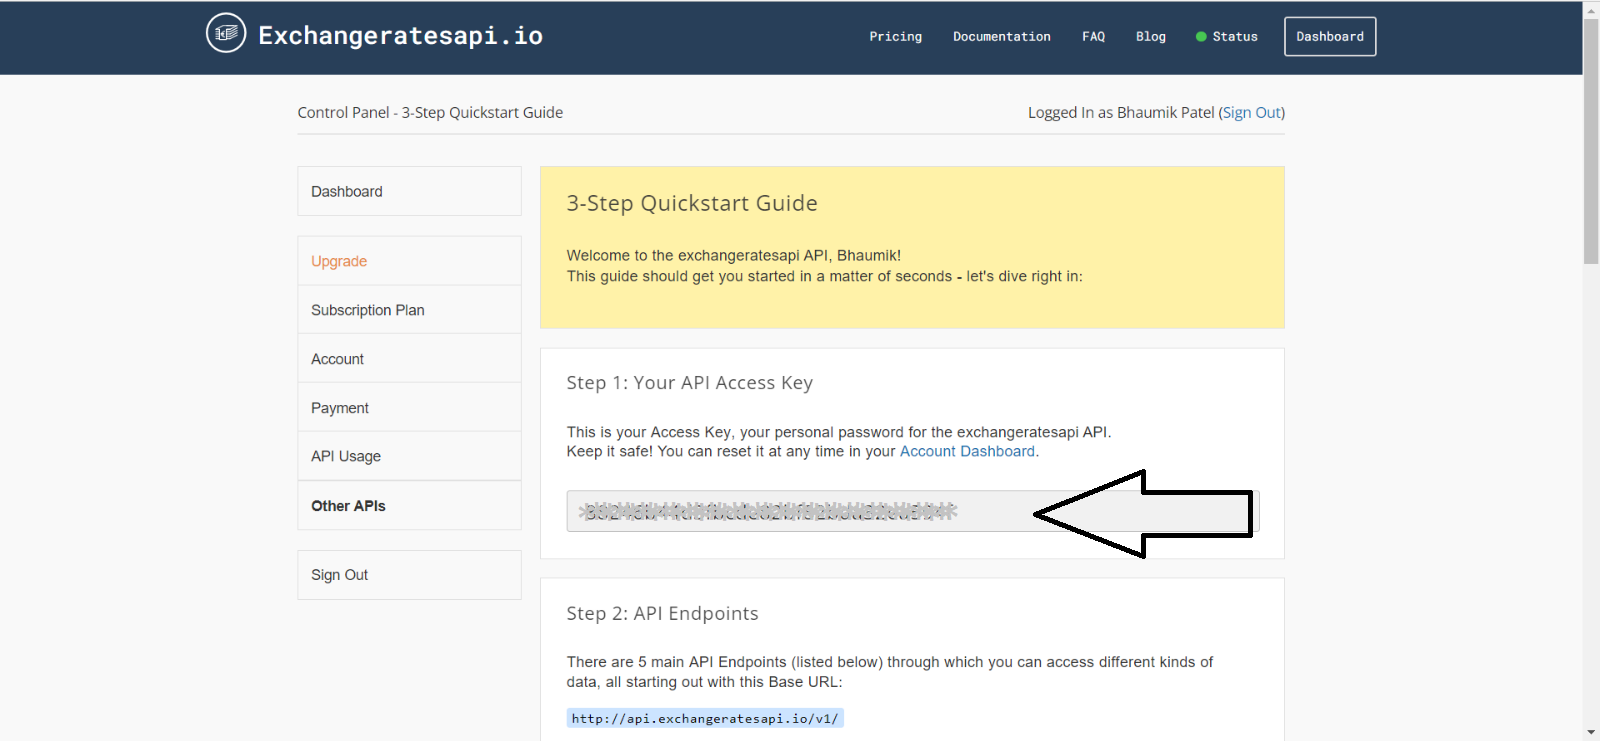
- Copy the API and add it into the form, for more details add the information as follows:
- Name: Exchange rates
- Source type: Exchanges Rates API
- Base: USD
- Access key: the Access key is one lind of secret passcode, you can copy it & add into your applications independently.
- Start Date: add date in the format of ‘YYYY-MM-DD’.
- After adding all the details click on the Test connection button and after the test connection gets successful add the destination.
Add Destination in Airbyte
- To add the destination, you need to follow the same type of process, where you need to add the name of the destination and select from the available destination, for example, we select MySQL.
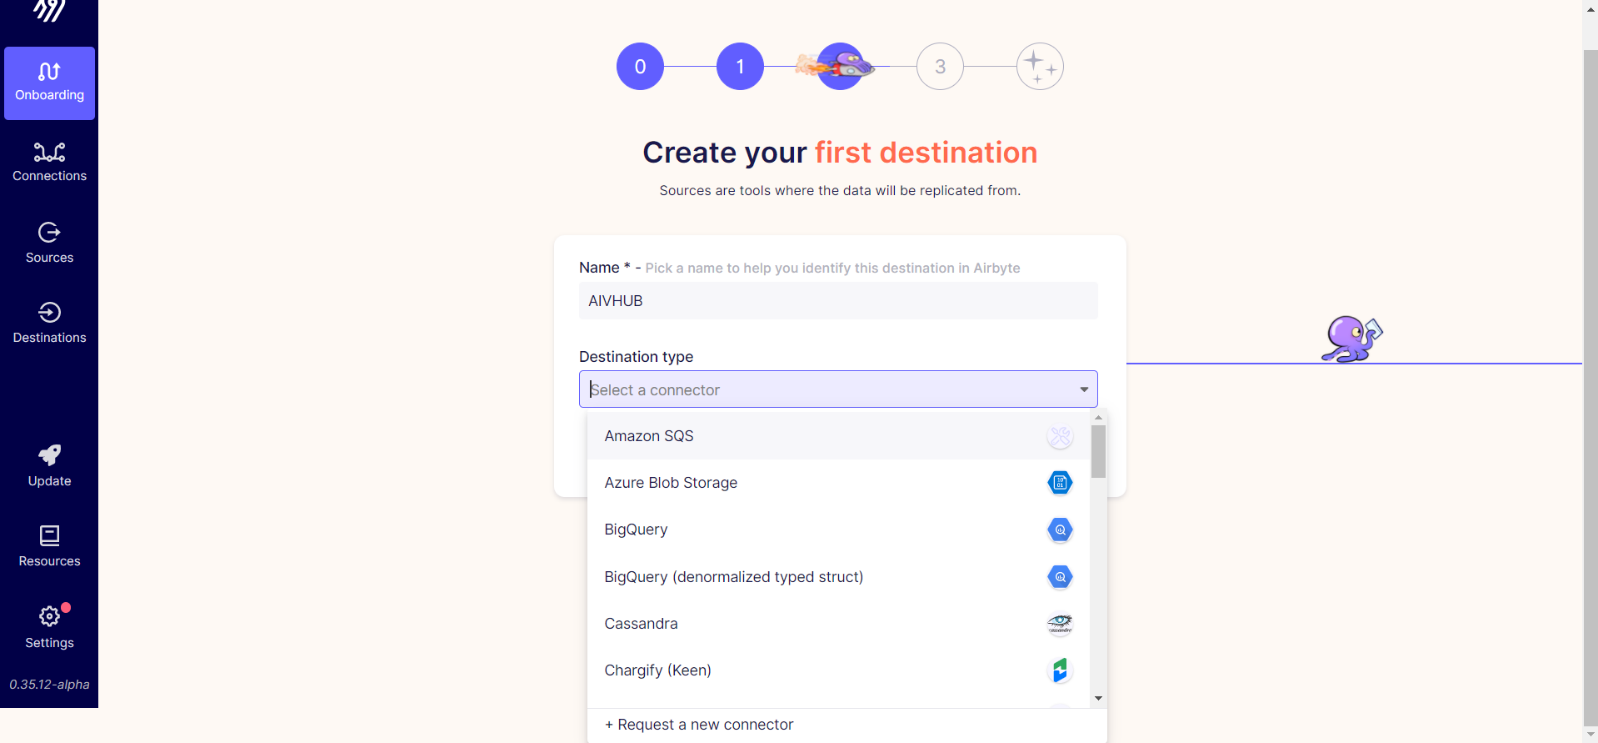
- After selecting the Destination add it's properties to set up the Connection, Add your port number, Username, passeord etc.
- After adding all the details click on Set up connection button to complete the process.
- Once the connection set up gets succesfull, go to the destination window from the left-vertical menu and open the Exchange Rates {Here we have given the name as Exchnage Rates, please select the name as you gave in the destination.}
- Click on the Sync button to Sync the data manually.
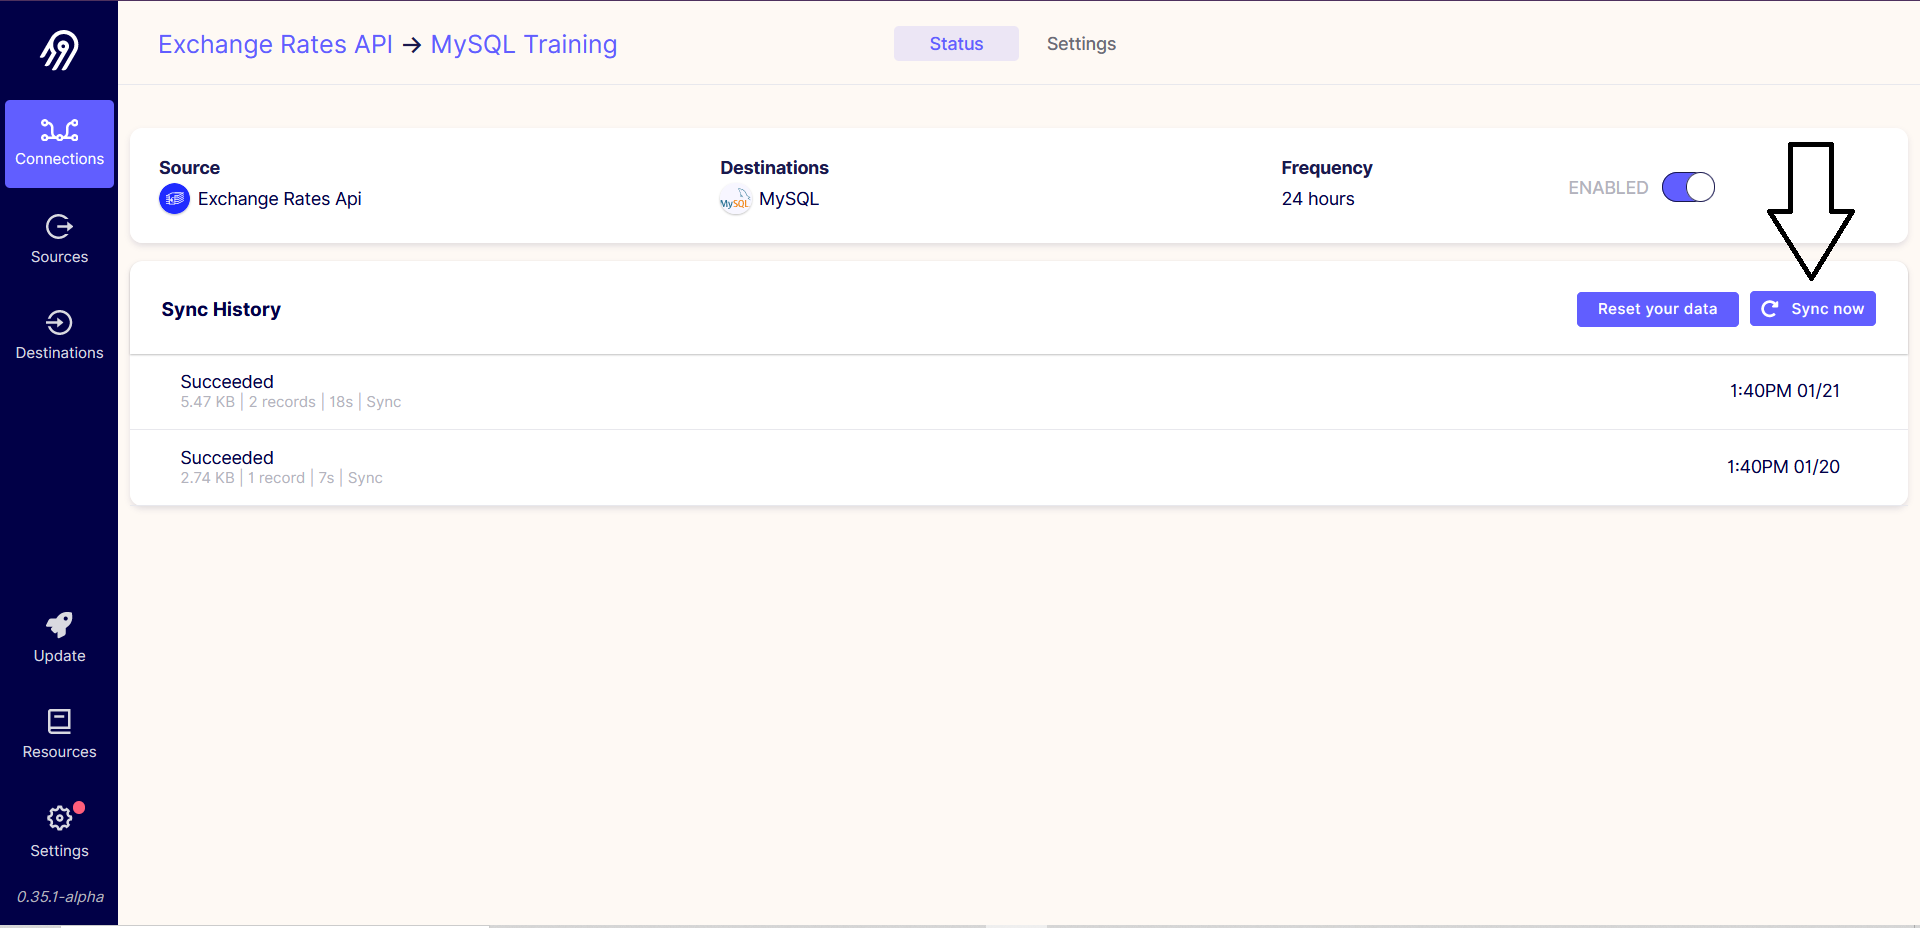
once the data gets synced then go to OPNBI to check the transfered data.
Login to OPNBI, Go to Dataset section. Click on Create Datset button from the dataset section.
info
Before checking the data on dataset section, make sure that source is add in the datasource sectino of OPNBI.
- Create dataset
- 1.Add name: Exchnage rates
- 2.Select datasource: JDBC
- 3.Select source: aws_rds {please select the datasource you have added into the airbyte's destination}
- 4.Search for the name of the data stream transfered from the vendor.
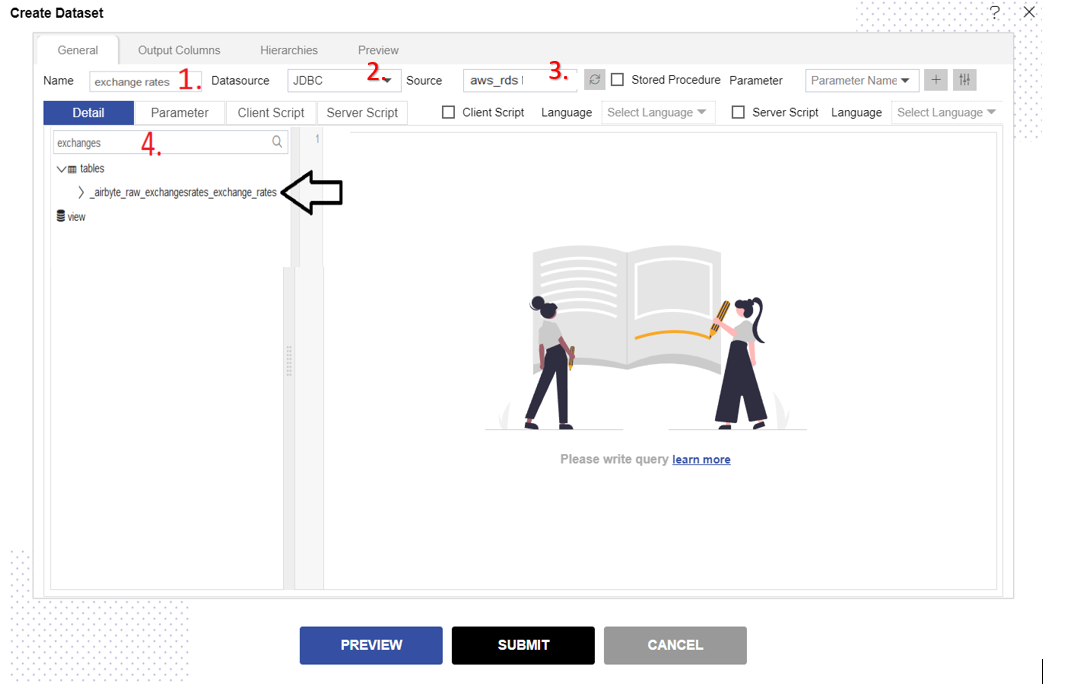
- Drag-and-drop the data from left to right panel and click on preview button to see the data preview in OPNBI.
info
We have prepared more tutorials, where we connect different kind of sources to OPNBI. please find the list around.